

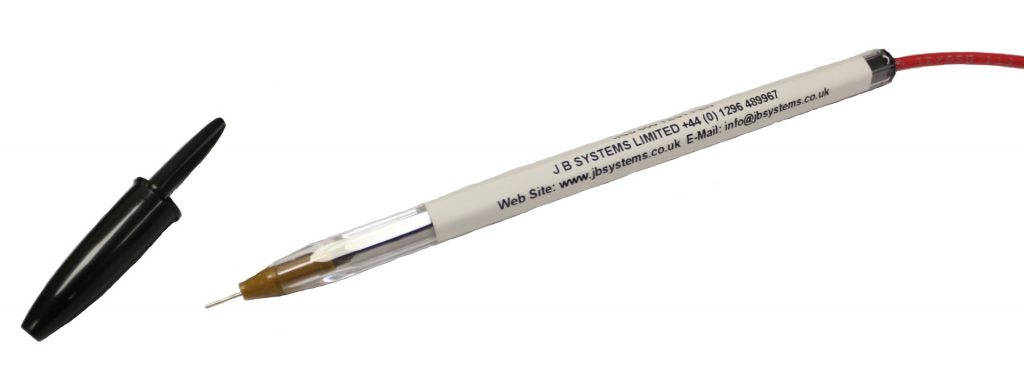
The IRIS 600 Flame Ionization Test Pen allows you to test the full functionality of the Iris 600 Unit, it effectively simulates the flame signal.
Test For Iris 600 Functionality
De-Power the Unit & Remove from the base.
With the back of the unit facing you & the PCV Board on the right release the rear cover by gently pushing out the left side of the case, the rear cover should spring up, remove the rear cover & slide the PCB board from the case.
Remove Flame Detection Cables from Terminals 1 & 3
Connect the test pen flying lead to Terminal 1.
Refit the PCB board to the base & re-power the unit.
Touch the pen tip to terminal 3.
If the unit is functioning correctly the bar graph display should go to the top illuminating all segments.
Testing other parts of the Installation
With the Iris 600 plugged in position, any part of the ionization hardware can be tested by connecting the wire to earth and placing the test pen probe onto the ionization rod or connection points.